Tuesday, June 25, 2019

#HopTipTuesday

When I work on an unbaked pendant I put it on an acrylic block
When I work on a baked pendant I put raw clay on the acrylic block then put the baked pendant on the raw clay to work on it

Wednesday, June 19, 2019

Making Tools

Making Tools

I decided to make clay tools, I looked around and didn't find much, then I remembered my box of needles in my sewing kit, one curved needle for making lines in clay, one double needle to make button holes, I made two long needles, one is triangle shaped, I can't wait to see what it can do or what I can do with it!  The other tools I will use to create texture.

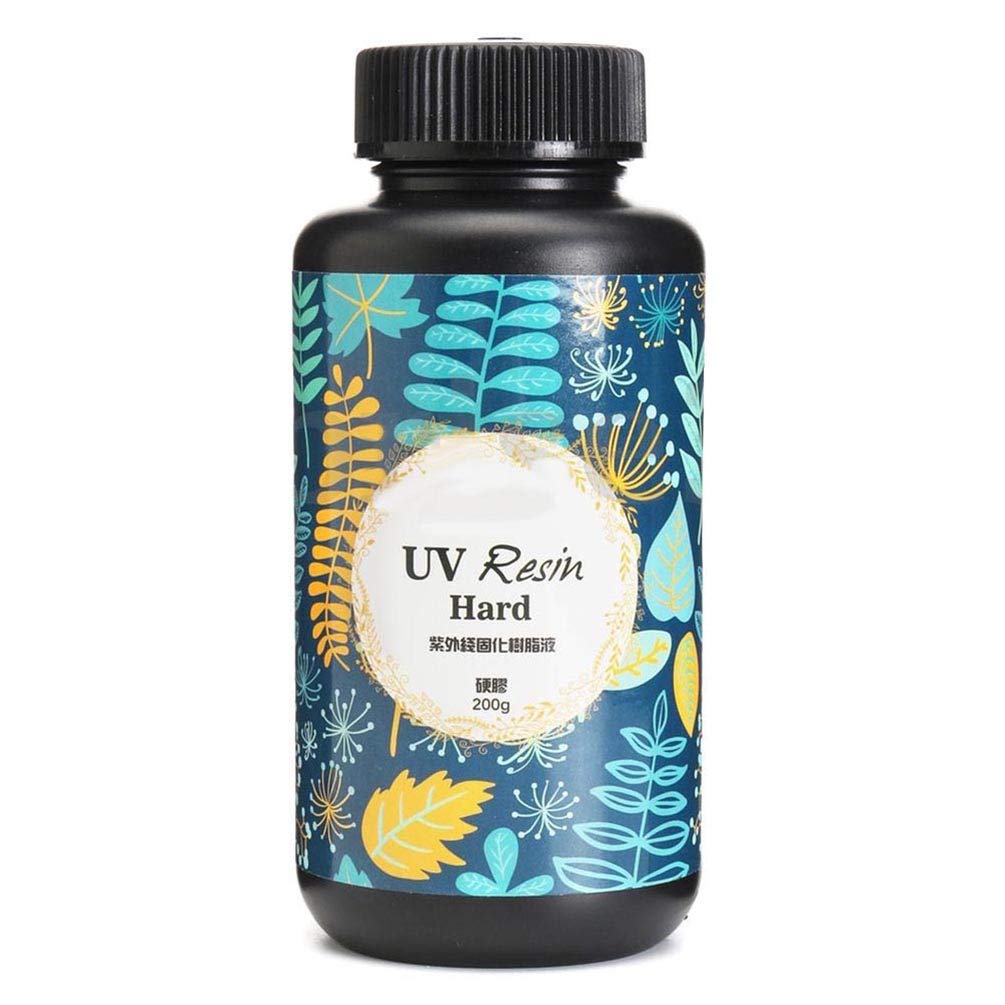
All but one tool were sewing needles, all of those I put wire through the eye and twisted it a few times so it can't slip out of the baked clay, I used scrap wire, different gauges, it doesn't matter what gauge you use, they will all grab the clay.  The one with many needles are glass head pins, I thought they were ideal because they won't slip out but it was hard to put them the way I wanted., now I will look for pins with a flat top, that should be better.  When I made the double needles to make buttonholes I put a small piece of 20 gauge wire in between the two needles, that was enough to keep the space between the two needles to make buttonholes,  The T-pins are good because you don't have to put wire or anything else, it can't slide out, usually you can get then from your dry cleaners, they pin your clothes to the paper on the hangers.  I covered it with UV resin to keep it clean, I made a tool years ago that discolored from the oils and dirt on my hands from working with clay.  Here is the resin I used, I applied it with a brush


No photo description available.h

Tuesday, September 18, 2018

No automatic alt text available.

To make alcohol ink I used a pliers to remove the tip of a dried up Sharpie permanent marker.  I used a tweezers to remove the ink cartridge nub, I placed that whole thing in the small bottle and added 91% alcohol half way, after a week I thought it didn't look dark enough for the amount of alcohol so I added another ink, now it's very dark, it worked great in resin.   I had no mess, I didn't use rubber gloves, but one I had to brake it in half to get the ink cartridge out, I used a scissors to cut it in half.  These are dried up markers so when I broke it in half ink did not squirt out.  Many people asked me how to do it, I hope I explained good enough.


Monday, March 7, 2016

LC Slicer and Natasha Beads

like the most of us I accumulated a lot of scrap clay and needed to clean my clay table, it's fun putting this clay together and twisting and cut through it and voile' an interesting pattern emerges. Many times your piece is thick and can be a pendant by itself but I found it more interesting to slice it with my LC Slicer, getting thin veneer  and now you have more control over your design and what you do with it, the trouble is your piece isn't that thick and can't go all the way up to the blade, some put scrap clay on the back, but I put an acrylic block behind it and it was perfect.


the green and yellow was thinner and I needed to push the acrylic block closer to the blade by hand was very easy to do, here are a couple pictures  of the acrylic block, it measures 4" square x almost 1/2" thick.


the acrylic blocks are originally sold with rubber stamps, a base for unmounted stamps to stick to, they come in all sizes, I have one 12" long, the opening is 6" so if you have to buy one I'd pick the 6" square.


Monday, December 29, 2014

SpongeBob SquarePants

  1. SpongeBob SquarePants


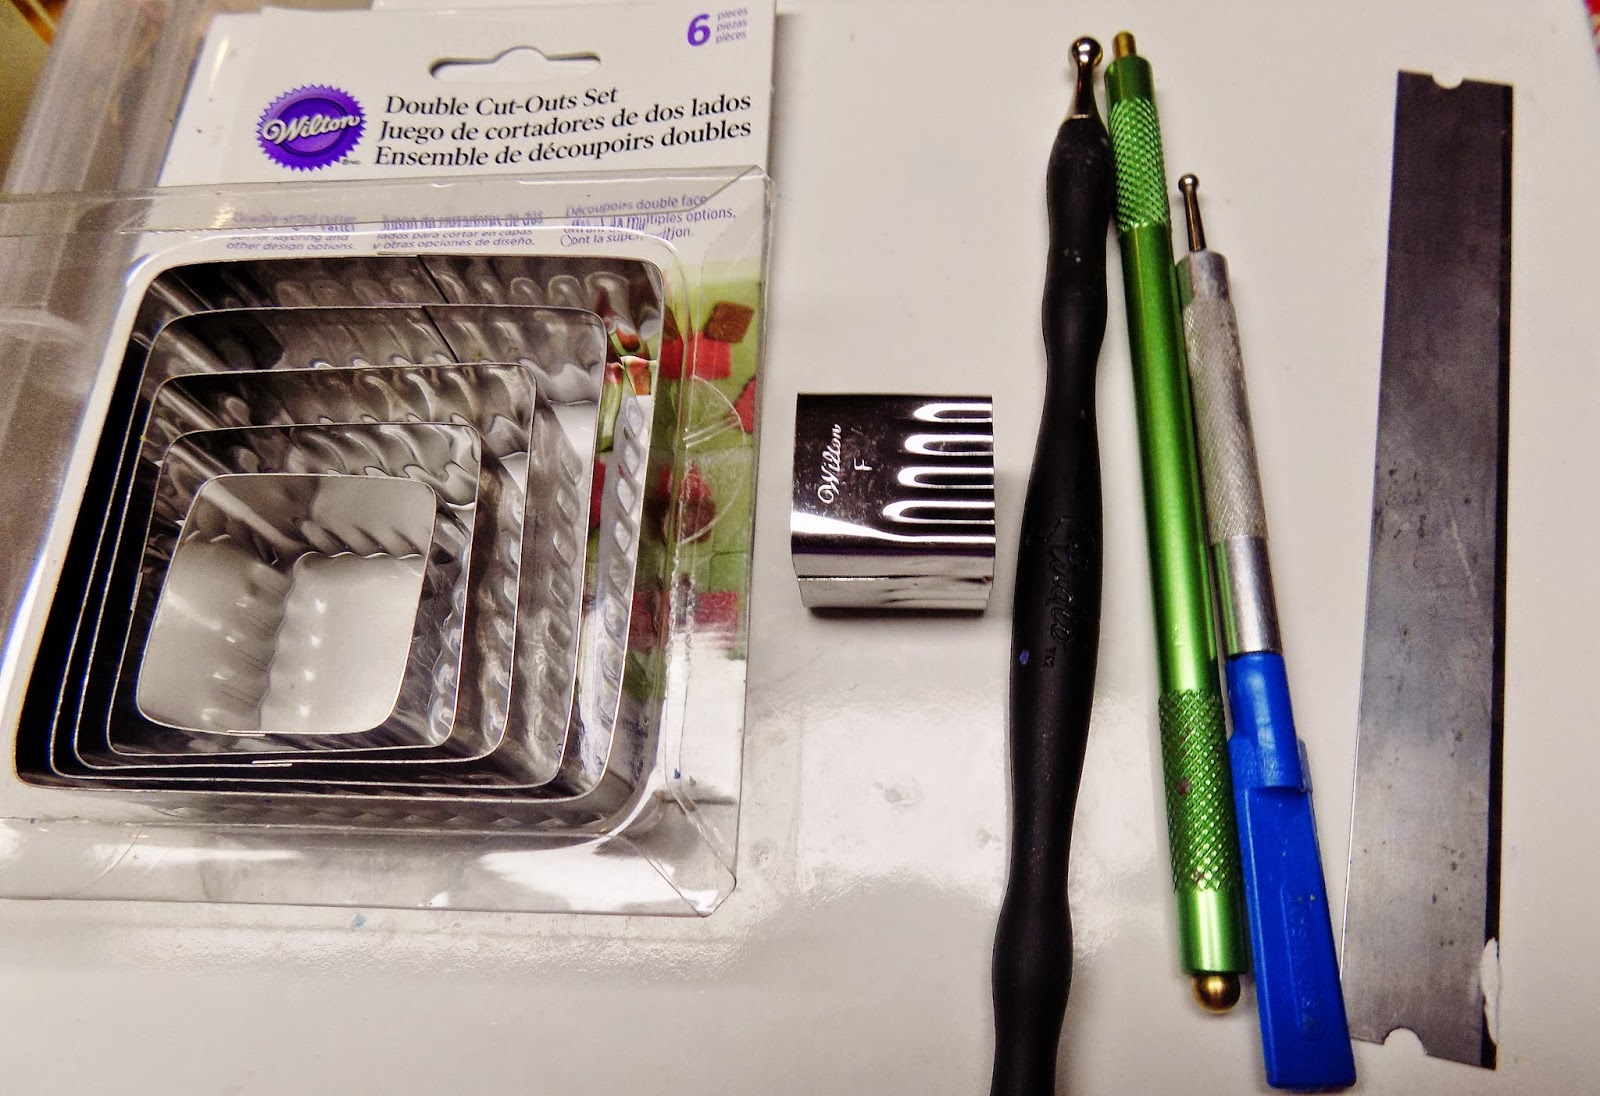
To make SpongeBob I used Sunshine Yellow, White, Black, Pearl  & Cadmium Red Primo polymer clays, Wilton Double Cut-Outs Set, it can be any square cutter straight or wavy, a blade and a few ball tools and my pasta machine.  For the tongue I added a small amount of Pearl to the cadmium red, for the back of the mouth I added a small amount of black to the cadmium red.  For the teeth I made a cane, I started with a round log of white clay and put a thin layer of black clay then made the log square then elongated it.  For the eyes I made a log of black clay then added a double thickness on the thickest setting on the pasta machine with blue clay, then doubled that amount of white clay, the best thing is for you to determine the amount; it shouldn’t be hard to balance it.  After you make the canes give it time to stiffen up, you can put it in the fridge for at least 30 minutes or it will be too soft and warm, or leave it alone at least overnight.
SpongeBob’s eyes bulge out, it’s very hard to get that because it distorts the eye cane so I cut it about 1/8” thick.  If you look at the top view of the canes on the far right you will see a couple eyes I was playing around with, that’s when I thought it best not to play with the canes, just get it the way you like it and leave it like that.

Don’t forget to give SpongeBob eye lashes, he has 3 long lashes.


You don’t have to make an eye cane or tooth cane, I chose to because I was making a large amount to give away at Christmas.  I thought I would use both canes on other projects.


Saturday, December 27, 2014

Japanese Kokeshi Doll


Kokeshi Dolls, I decided to make one for a gift, this was my first attempt at anything like this, I was nervous, I wanted this to be perfect and special, I researched it thoroughly and decided what I wanted it to look like, I chose to put a rose cane on for decoration so I picked a color to compliment the rose cane.   I made the doll then did the face with polymer clay last it looked horrible, not the way I wanted it to look, I was very upset and nervous so I put it aside for a few days and thought about it, I calmed down and cut out the eyes and mouth then gave her a new face, I baked her and painted her eyes and lips with Sharpie Oil Base Paint Pens, that worked out so much better, I learned so much, mostly stay calm, have confidence in yourself, it can always be re-done and touched up.  Another good tip is take pictures and study your picture, if you don’t like the hair it’s easy enough to re-do, you don’t have to leave it that way, you don’t like the neck?  It’s not too late to make changes, it can be baked many times, just read my blog about the importance of preheating ovens and oven thermometers.  Give yourself enough time, if I did I could have changed a few things but I’m pretty happy with my first attempts at anything like this, my first attempt at drawing a face on a doll.  My next doll will be larger and better.  Any suggestions for me?